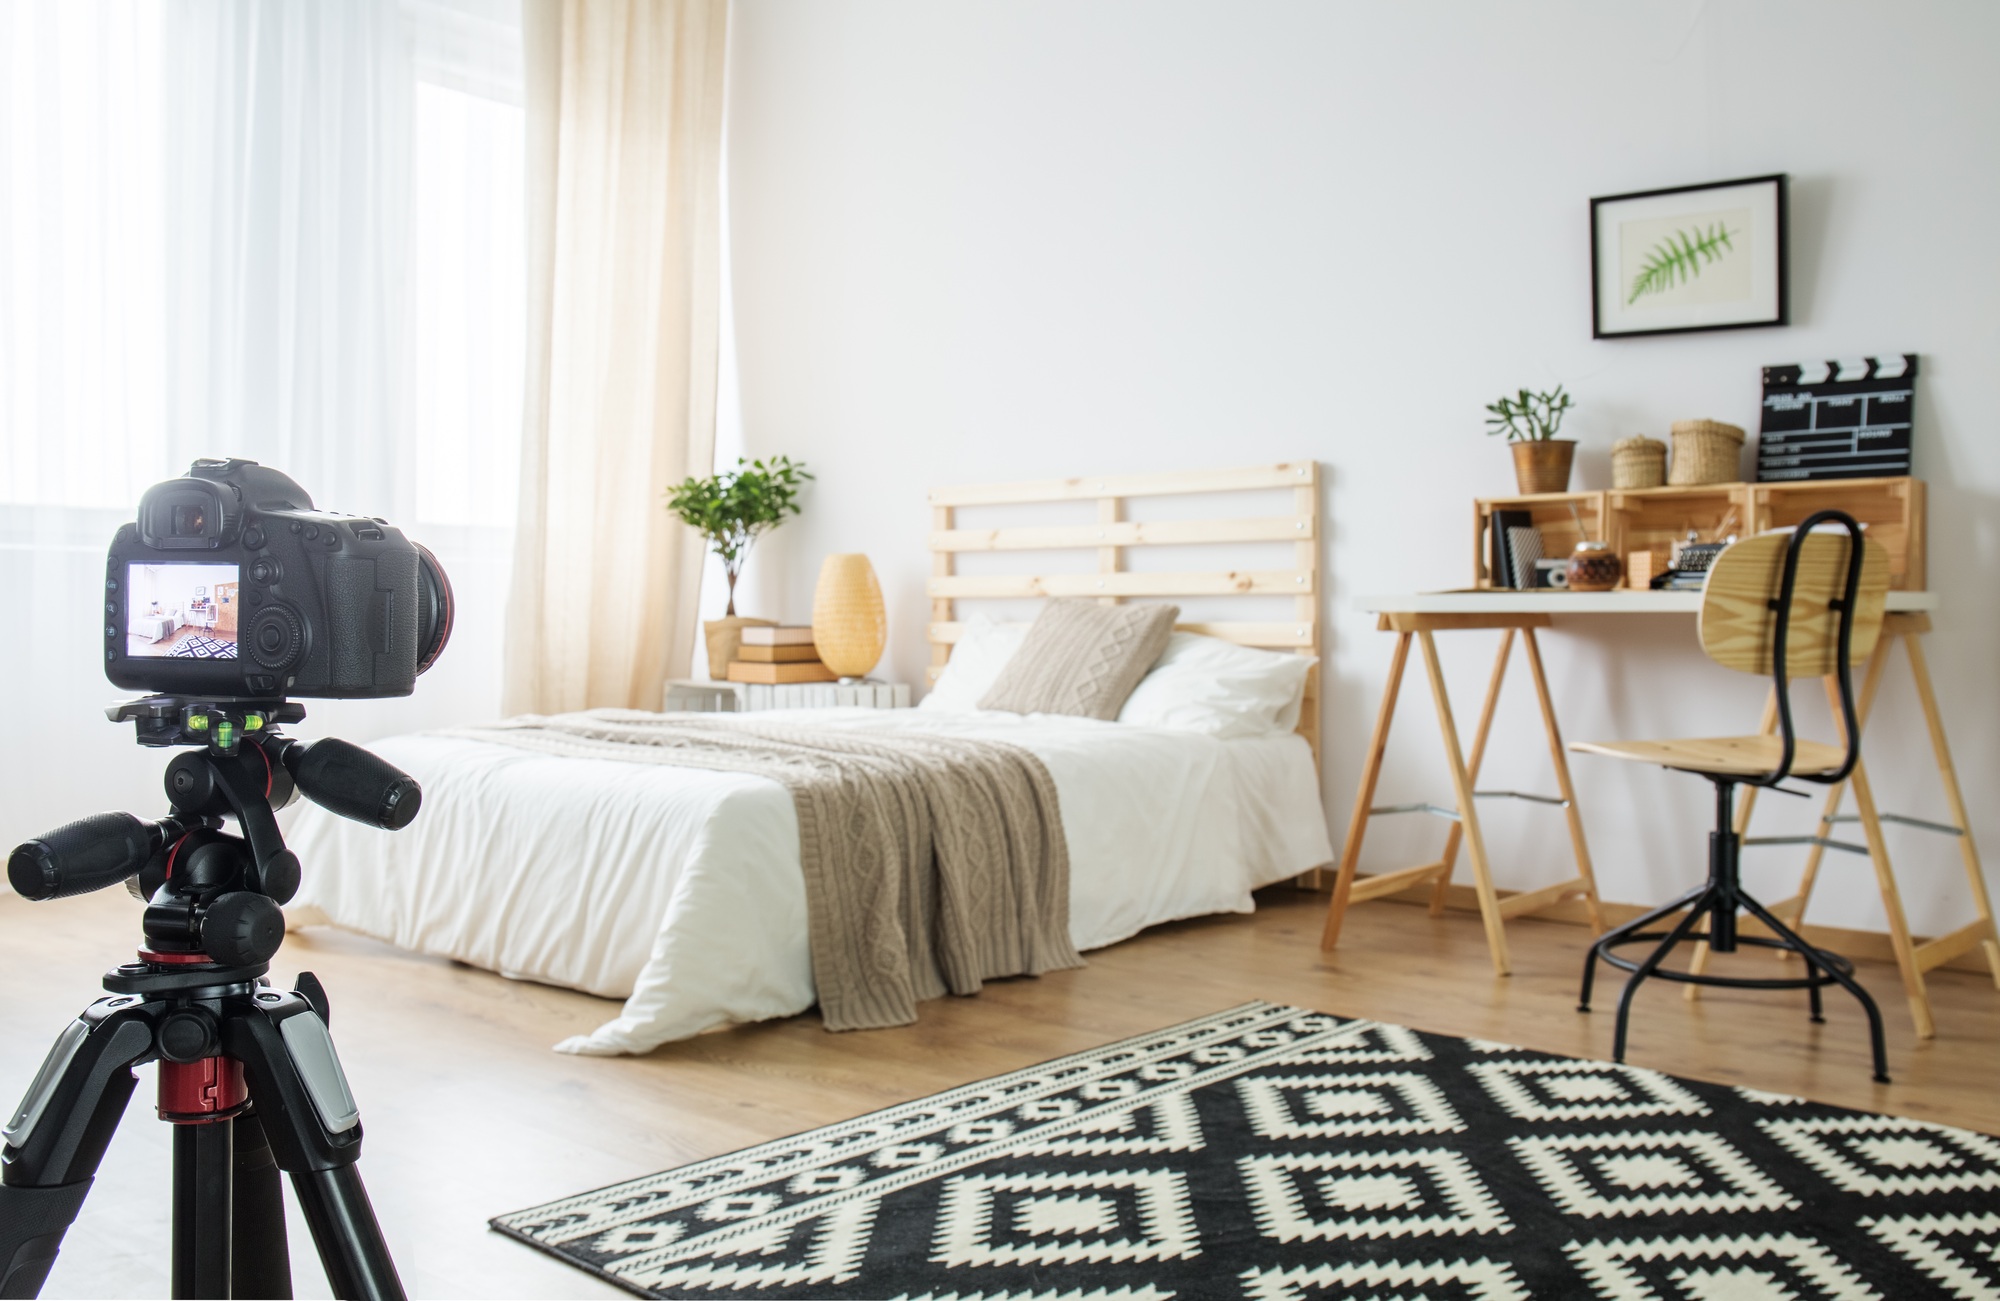
Selling or renting your property starts with a great first impression, and nothing achieves this better than professional real estate photography. However, ensuring your home is photo-ready can make all the difference in creating an inviting and attractive listing. Here are essential steps to prepare your property for a successful photoshoot.
Why Preparation Matters
Professional photos can highlight your home’s best features, but they can only do so much if the space isn’t well-prepared. A clean and organized home:
- Creates a strong emotional connection for potential buyers or renters.
- Makes your listing stand out in a competitive market.
- Reduces the time your property spends on the market.
Follow these tips to make the process smoother for everyone involved and showcase your home in its best light.
Pre-Photography Checklist
1. Declutter and Depersonalize
- Remove personal items: Family photos, fridge magnets, and personal decor should be stored away.
- Minimize clutter: Clear countertops, tidy shelves, and organize furniture to create a clean and spacious look.
- Limit furniture: Remove any unnecessary pieces to make rooms feel larger and more inviting.
2. Deep Clean the Entire Property
- Floors: Vacuum carpets, mop hard floors, and polish any reflective surfaces.
- Windows: Clean all windows inside and out for maximum natural light.
- Bathrooms: Ensure sinks, mirrors, and shower areas are spotless. Close toilet lids.
3. Optimize Lighting
- Replace bulbs: Ensure all light fixtures work and use bulbs with the same color temperature.
- Open curtains and blinds: Allow natural light to fill the space.
- Turn on lights: This will create a warm and inviting atmosphere.
4. Stage Key Areas
- Living room: Arrange furniture to highlight the flow of the space. Add fresh flowers or a decorative centerpiece.
- Kitchen: Remove small appliances and clutter. Leave out one or two visually appealing items, such as a bowl of fruit or a cookbook.
- Bedrooms: Make the beds with fresh linens and add decorative pillows.
- Outdoor spaces: Mow the lawn, clean patios, and set up outdoor furniture to look inviting.
5. Address Minor Repairs
- Fix any visible damage such as chipped paint, broken handles, or leaky faucets.
- Hide cords and cables to keep areas neat and tidy.
6. Final Touches Before the Photographer Arrives
- Ensure pets are removed or confined to an area not being photographed.
- Put away pet bowls, beds, and toys.
- Empty trash bins and hide cleaning supplies.
The Day of the Shoot
On the day of the shoot, take a final walk through your home. Ask yourself, “Does this space feel open, clean, and inviting?” This small effort will save time during the photoshoot and result in better-quality images.
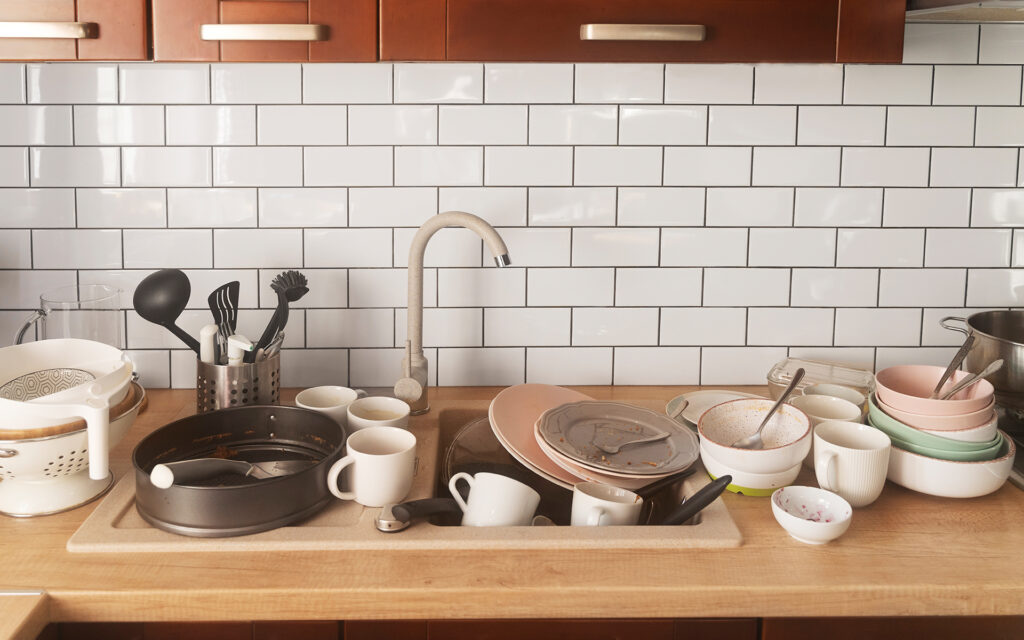
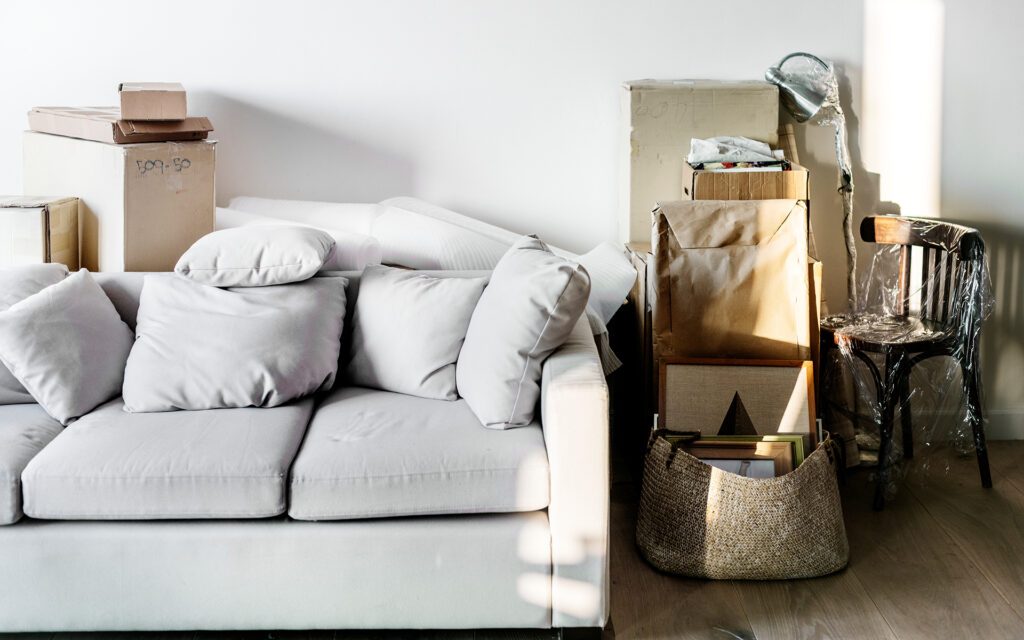
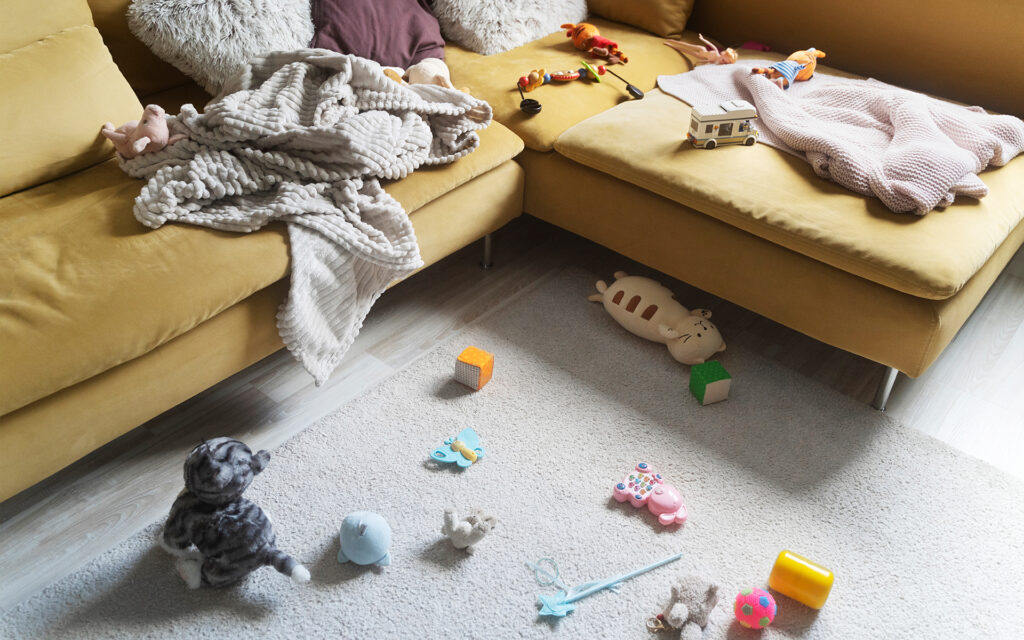
Examples of Cluttered Spaces


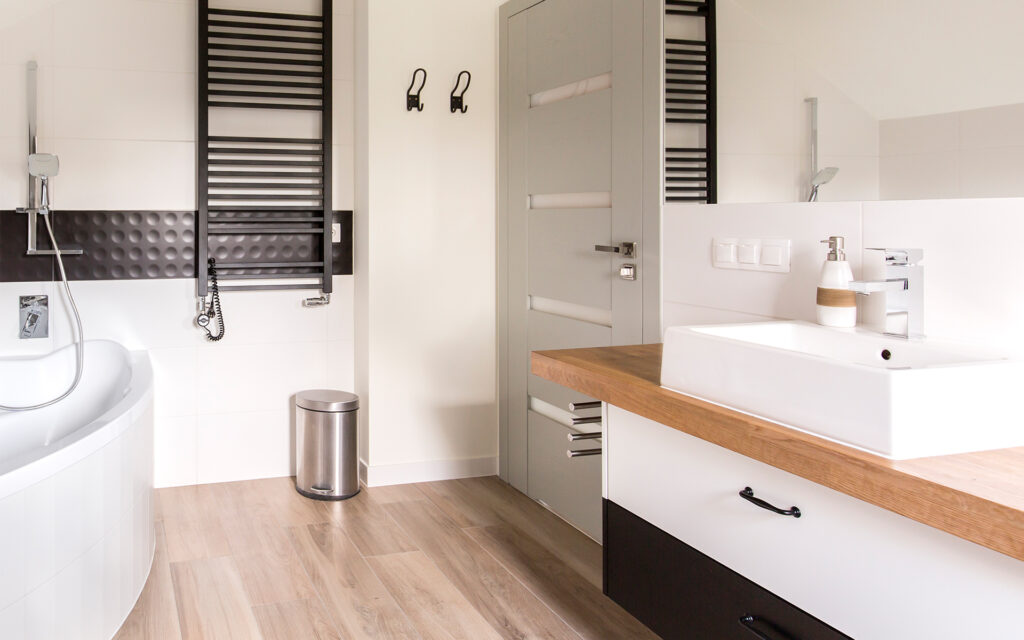
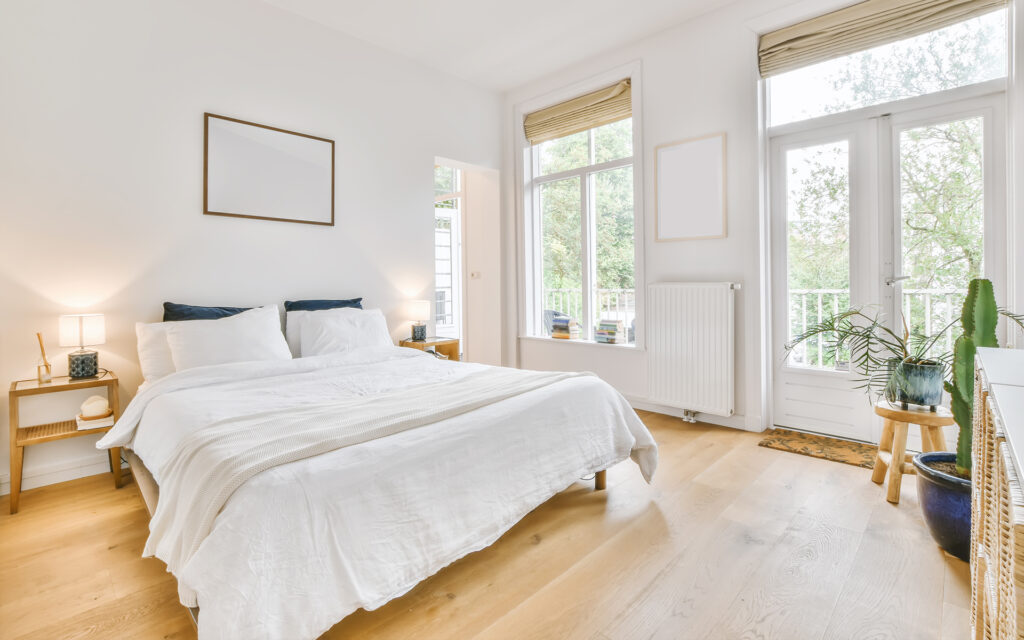
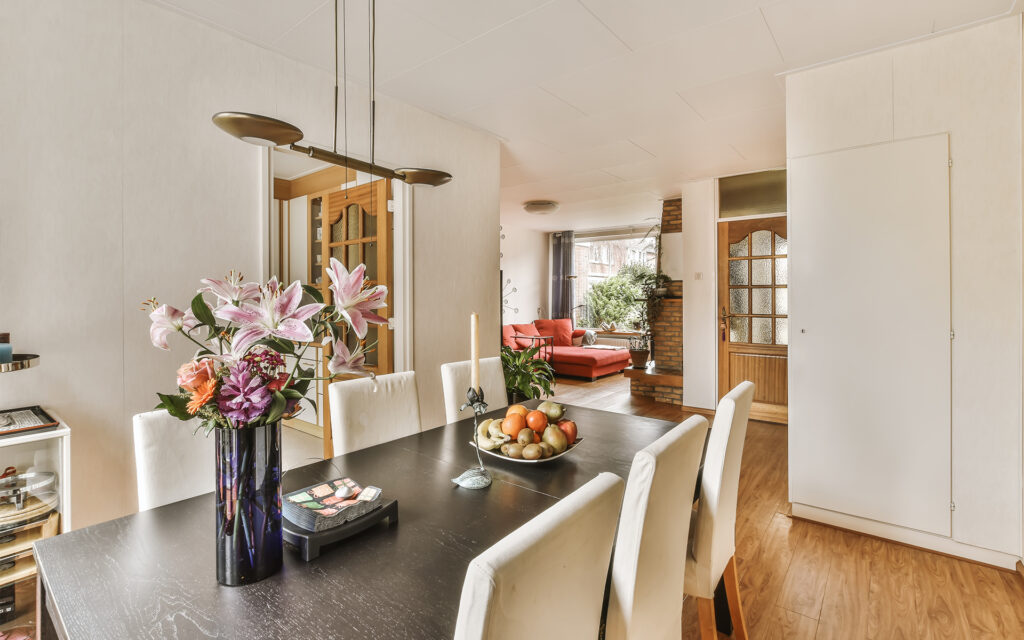
Examples of Clean Spaces


Conclusion
Preparing your home for real estate photography is a vital step in creating a standout property listing. A little effort goes a long way in ensuring your home looks its absolute best, helping you attract more interest and potential buyers or renters. By following these tips, you’re setting the stage for a successful and stress-free photoshoot.
Need help with staging or additional guidance? Feel free to reach out — we’re here to ensure your property shines!